
In the highly competitive world of e-commerce, visually appealing product photography plays a crucial role in capturing potential buyers’ attention. When it comes to selling products on Amazon, having high-quality images is essential for standing out from the competition and driving sales. In this ultimate guide, we will explore the importance of product photography and provide valuable insights into mastering this art specifically for Amazon.
Understanding the Importance of Product Photography
Visuals have a significant impact on online shopping experiences. As customers cannot physically touch or examine products before purchasing them, they heavily rely on product images to make informed decisions. Therefore, having appealing and informative visuals is vital for conveying the product’s features, quality, and value.
Before we begin: Every Amazon Seller needs a suite of tools for Keyword Research, Product Development, and Listing Optimization. Our top pick is Helium 10 and readers of this post can get 20% off their first 6 months by clicking the image below.

Product photography plays a crucial role in capturing the essence of a product and presenting it in the most enticing way possible. It involves carefully selecting the right lighting, angles, and backgrounds to showcase the item’s unique attributes. By highlighting the product’s details, texture, and color, photography helps create a visual narrative that engages potential buyers.
The Role of Visuals in Online Shopping
When shopping online, customers rely on visuals to imagine how a product would fit into their lives. Clear, high-quality images create a sense of trust, credibility, and professionalism. They provide an opportunity for potential buyers to evaluate the product’s appearance and understand its dimensions and features without physically interacting with it.
Imagine browsing through an online store looking for a new pair of shoes. As you come across a product page with a stunning image of the shoes, you can almost feel the soft leather, see the intricate stitching, and envision yourself wearing them. These visuals transport you into a virtual shopping experience, allowing you to make a more informed decision.
How Quality Images Impact Buyer Decisions
Studies have shown that high-quality product images can significantly influence buyer decisions. Well-photographed products tend to generate higher conversion rates, as customers are more likely to trust and engage with listings that present products in the best possible light. These images build credibility, enhance brand perception, and ultimately contribute to increased sales.
Imagine you are searching for a new camera online. You come across two listings: one with poorly lit, blurry images and another with crisp, well-composed photographs showcasing the camera’s features from various angles. Which one would you be more inclined to click on and explore further? The answer is obvious. Quality images not only attract attention but also instill confidence in the buyer, making them more likely to proceed with a purchase.
In addition to boosting sales, quality product images also reduce the likelihood of returns and negative reviews. When customers have a clear understanding of what they are buying, they are less likely to be disappointed upon receiving the product. This leads to increased customer satisfaction and positive brand experiences.
Basics of Product Photography
Now that we understand the importance of product photography, let’s dive into the essential aspects you need to know to create stunning images for Amazon.
Product photography is a crucial element in the world of e-commerce. It is the visual representation of your product that can make or break a sale. High-quality images can attract potential customers, convey the value and features of your product, and ultimately drive conversions. With the right techniques and equipment, you can create captivating product images that stand out in a crowded marketplace.
Essential Equipment for Product Photography
Before you begin your product photography journey, it’s crucial to have the right equipment. While professional setups can be expensive, you can achieve excellent results with some affordable essentials.
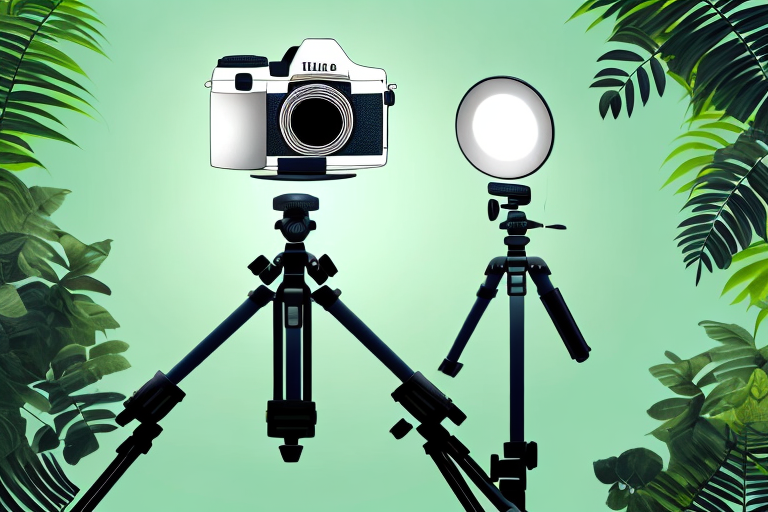
A decent camera is the foundation of your product photography setup. Look for a camera with manual settings and a good sensor that can capture sharp and detailed images. A tripod is essential to keep your camera steady and avoid blurry shots. It helps maintain consistency and allows for precise framing and composition.
Lighting is another critical aspect of product photography. A lighting setup can range from simple and affordable options like natural light or desk lamps to more advanced options like studio strobes or continuous lights. Experiment with different lighting setups to achieve the desired look and eliminate harsh shadows or reflections.
A backdrop is essential to create a clean and professional look for your product images. You can use a plain white backdrop for a classic and versatile look, or experiment with different colors or textures to match your brand’s aesthetic. Consider investing in a backdrop stand or a seamless paper roll for easy setup and flexibility.
Props can add visual interest and context to your product images. Depending on your product, you can use props like lifestyle elements, complementary items, or creative backgrounds to enhance the overall composition and tell a story. However, be mindful not to overwhelm or distract from the main focus, which is your product.
As you progress in your product photography journey, you may find the need for more advanced equipment like macro lenses for close-up shots, diffusers or softboxes for controlling light, or even a dedicated product photography table with built-in lighting. Gradually investing in equipment that aligns with your specific needs and budget can help elevate the quality of your images.
Setting Up Your Photography Space
To create consistent and professional-looking product images, you’ll need a designated photography space. This space should be well-lit, organized, and free from distractions.
When it comes to lighting, natural light is often the most flattering and cost-effective option. Find an area in your home or office with good natural light, such as near a large window or glass door. Position your product and setup in a way that utilizes this light source to create soft and even illumination. If natural light is not sufficient or consistent, you can set up artificial lighting using desk lamps, studio lights, or a combination of both.
Creating a clean and clutter-free backdrop is essential to keep the focus on the product. You can use a plain wall, a roll of seamless paper, or even fabric as your backdrop. Ensure that the backdrop is wrinkle-free and free from any distracting elements. Consider using clips or tape to secure the backdrop and prevent it from sagging or shifting during the shoot.
Having a dedicated space for product photography allows you to streamline your workflow and maintain consistency in terms of lighting, angles, and composition. It also helps you keep all your equipment and props organized and easily accessible. Consider setting up a small table or a dedicated surface where you can arrange and style your products comfortably.
Remember, the goal is to create images that showcase your product accurately and attractively. Experiment with different angles, compositions, and lighting setups to find the best way to highlight the features and benefits of your product. With practice and attention to detail, you can create stunning product images that captivate your audience and drive sales.
Mastering the Art of Lighting
Lighting is one of the most critical aspects of product photography. It shapes the product’s appearance, highlights its features, and creates the desired mood. Understanding the differences between natural and artificial lighting and knowing how to use them to your advantage can take your product images to the next level.
Natural vs. Artificial Lighting
Natural lighting, when available, can produce beautiful and soft results. However, it can be inconsistent, depending on the time of day and weather conditions. Artificial lighting, on the other hand, provides more control over the desired outcome. Studio lights, diffusers, and reflectors help you shape the lighting to achieve the desired effect.
Tips for Achieving the Perfect Lighting
Regardless of whether you choose natural or artificial lighting, here are some valuable tips to help you create the perfect lighting for your product photography:
- Experiment with different angles and positions to find the most flattering lighting for your products.
- Avoid harsh shadows by diffusing the light sources.
- Use reflectors to bounce light onto the product and fill in any shadows.
- Consider creating a lightbox setup for smaller products to achieve soft, even lighting.
Composition Techniques for Product Photography
Composition is the art of arranging elements within a photograph to create a visually pleasing and impactful image. Applying composition techniques can make your product photos stand out and capture the viewers’ attention.
The Rule of Thirds in Product Photography
The rule of thirds is a fundamental composition principle that involves dividing an image into nine equal parts by two equally spaced horizontal lines and two equally spaced vertical lines. Positioning key elements or points of interest along these lines or at the intersections can create a more dynamic and visually appealing composition.
Using Angles and Perspectives
Exploring different angles and perspectives can make your product images more engaging and unique. Instead of solely relying on standard front-facing shots, try shooting from various angles, such as low angles, bird’s eye view, or 45-degree angles. This experimentation can add depth and visual interest to your product photography.
Post-Production Process
Once you have captured your product images, the post-production phase is where you fine-tune them to perfection. Photo editing tools can help enhance your images, make necessary adjustments, and give them a polished and professional look.
Introduction to Photo Editing Tools
Popular photo editing software like Adobe Photoshop or Lightroom provides a wide range of tools and features for image enhancement. Learning the basics of these tools can help you adjust elements like exposure, contrast, colors, and even remove any small imperfections to make your product photos truly shine.
Enhancing Your Images for Better Appeal
When editing product images, it’s important to strike a balance between enhancing their visual appeal and maintaining their authenticity. Avoid excessive editing that misrepresents the product’s actual appearance, as this may lead to disappointed customers. Instead, focus on enhancing the product’s features and ensuring that the images accurately reflect its quality.
With the knowledge and techniques covered in this guide, you are now equipped to take stunning product photos specifically tailored for the Amazon marketplace. Remember, product photography is a continuous learning process, and with practice and experimentation, you will refine your skills and create captivating visuals that drive sales and captivate buyers in the competitive world of e-commerce.
Take Your Amazon Product Photography Further with Your eCom Agent
Ready to elevate your Amazon listings with AI-powered precision? Subscribe to Your eCom Agent’s AI Tools today and transform the way you develop products, analyze reviews, and enhance your detail pages. Embrace the future of e-commerce with our suite of tools designed to streamline your workflow and maximize your success on Amazon. Don’t let hours of manual work hold you back—let AI do the heavy lifting for you, and watch your sales soar!